April 04, 2014

Long tassel garland


I'm so on board with tissue paper tassel garland.. I mean who isn't?? It's so pretty! I've tried making these before using other tutorials and they just didn't turn out how I'd  hoped so I decided I wanted to show you how I did mine and tell some helpful hints. I finally cracked the code! This is what worked for me. I started by running to Walmart of all places and I found all my pretty pink tissue paper there. I actually thought they had a better variety than Hobby Lobby they are usually my go to place, they have lots of solid colors but I was looking for some fun prints.  I also wanted metallic gold Mylar in the mix and that was a little harder to track down. I made a pit stop at Zurchers and they had some YIPPEE!!! 
What you'll need: 
Assortment of colored tissue paper 
Rotary cutter 
Cutting mat 
Ruler 
Hot glue gun 
Twine  or chording 

Okay now get ready for the biggest secret.... YOU CAN IRON TISSUE PAPER!!!!  Well on a relatively low setting anyway and for the Mylar I just covered it with a this dish towel so it would melt it. When you buy the pre packaged paper it comes with all kinds of creases it's horrendous! 
So after you iron your sheet I'm gonna go all kindergarten on you and use the term "hamburger". So fold your paper hamburger wise  then fold it hamburger wise again and grab your rotary cutter and  use your ruler to help you cut straight lines and go vertically try and get it as thin as you can I'm talking spaghetti thin! leave about an inch and a half at the top 

Then once you've done all your slicing carefully unfold your paper and roll it down the center so your got paper fringe on both sides then twist it around its self to make a loop then use a spot of hot glue to stick the twisted parts together but its really important that you leave a space inside the loop so you can thread your chording or twine or whatever you choose to string it up with through the opening. 
This project is one of my favorites because it is so inexpensive and it's not hard just very time consuming! I've had people dying to know where I get the garland. I loved telling them I made it. So 
now that you've got this tutorial go  on now and make one for yourself you'll love it! Now skat! 😜


SHARE THIS POST - {PINTEREST}

March 26, 2014

Spring wreath

You guys ! I'm back after much needed hiatus. I've just been focus ongoing on being a mom and honestly I've been letting my auto immune disease/chronic illness  get the best of me and honestly it has been kicking my trash and stealing my lunch money everyday! Now after just getting less than desirable news from  the doctor I finally snapped out of it and I'm like c'mon Christine you're so much tougher than this! I'll go into more detail about all that junk later.
I figure there is no better way to pull myself out of this funk than by doing something I love and that is to create! My poor front door has been naked since Christmas! Something had to be done about that sad little door! So I put a stop to it!  We went to the home show in St. George a while ago and I fell in love with a wreath from Heritage gardens . 
Does this just not scream spring??  Just looks so fresh and so clean clean! But you know me......I'm  such a cheapskate I didn't even consider buying it cause I was pretty confident I could recreate it! I did purchase a monogram. It was so cool Joni who  is a designer for Heritage got to design a house in the home show and she used theses monograms to make it look like a type writer on the wall I wish I had a photo it was incredible! If you're a st. George native go check it out!  
I gathered my supplies I didn't get a decent picture of all of it before I started make it I'm so dumb! 
what you'll need: 
Grape vine wreath (mine was 18")
Greenery of choice 
Wire cutters 
Floral wire 
Floral tape 
Ribbon of choice
I really screwed the pooch with this one with taking pictures as I went. My little Kate is getting her too teeth and is such a little bear! This project is super easy. I used the wire cutters and cut up the greenery and laid it out on the wreath and got it all set up the way I liked it. Then I used the  floral wire and looped it through the grape vine wreath and kind of twisted around the greenery it as you would a bread tie then looped my gingham ribbon through my cute monogram tied it in a little bow. Then lastly I used a little floral wire and looped it through the grape vine yet again and twist it at the top then covered it with floral tape. Sorry if this is all nonsense due to the lack of pictures! 


It's not identical to the original but it turned out just they way I wanted and mine was made for less than $30!! In my book that's a huge success!
I'm really excited about all my upcoming projects for Kate's birthday party! Stay tuned!! 


SHARE THIS POST - {PINTEREST}

February 25, 2014

My name is Christine and I'm an extension addict.

Women of the world aren't we sick and tired of having short thin and crappy hair?? Thank the hair gods that extensions exist!! Can I get an amen???  I'm an avid extension hoarder I have a bag full of them under my sink. Shhhh don't tell.
So as some of you probably know I was given some lock n long hair extensions from the creatior Danielle. I've had so many of you asking how I liked them so I thought I'd do a review.
First let me start off by saying they are fabulous!!! Also let be known that I have always been a clip in kind of girl and I probably always will be. I just love everything about clip ins! You can take them out to shower, swim, work out, sleep. Plus sometimes I like to have my short hair . However if you are a permanent  hair extension lover then I'd say 100% go with lock n long hair extensions. I've had several types of hair extensions and the lock n long method is the smartest! If you go to their site the link is above you can see more info but it's a weft with beads attached it's freaking genius!! In the past I've had nasty glue in ones that when I took them out 1/2 of my hair went with them. Beads maybe there are magician hairstylists out there who can make them look amazing but I just feel like they look stringy and getting them tightened takes entirely too long! With the lock n long extensions I did them myself  so I didn't have to pay anyone to do it. It wasn't super easy but my husband helped me so that tell you anyone could do it (sorry honey)  the hair itself it so soft and thick!However truth be known I had to add in two of my own clip in extensions  the only reason being I have a long bob and it's a pretty blunt cut so if you have shoulder length hair or longer already it would blend just fine.  I wore them to the gym and I'm trying to be a runner and they didn't tug or pull at all they were really comfortable! I had them in just shy of 6 weeks then the beads were grown out and needing to be tightened but I was just ready to have my short hair again for a while so I just took them out altogether. Here are some before and afters. I think they actually blend pretty well no? Let me know if you guys have more questions!


SHARE THIS POST - {PINTEREST}

February 10, 2014

DIY valentines day cards

Hey ladies with Valentine's day coming right up I needed to do a project Valentines day is one of my favorites it's the girliest holiday of all lots and lots of pink, my favorite!! At Jossie's dance class last week before the teacher let them out she told them they could bring valentines to class the following week. I thought to myself how fun! I'll just go to target and let joss pick out some princess ones she will love that. Then I thought no... This is a perfect opportunity to be creative! I had the idea to make some custom ones using her sweet little face mostly cause she is new at dance so maybe this will help all the other little girls remember who she is. I had the cutest idea to use lyrics from  Frank Sinatra's classic song "Funny Valentine"  but I did that and neither my mom or my mother-in-law got the reference! I swear sometimes my soul is too old that I'm like an irrelevant 90 yr old lady. I ended up using some of the lyrics anyway cause I got the cutest photo of Joslyn laughing 
What you'll need:
Some form of camera 
Photo editing apps
Cellophane bags 
Treats 
Hot pink thread
Sewing machine 

I started by trying to get a cute picture of my girl and I just so happened to snap one of her laughing! How did I get her to laugh you ask? I told her chicken butt jokes until she cracked! Yay go me!  
I used my go to photo editing app Pic Tap Go  I love it! It has so many fun filters and my favorite thing about it is that you can layer the filters. With this photo I wanted it brighter and black and white BOOM I did it all in one place. The black and white filters are so crisp! 
 
Then I went to my other photo editing app Rhonna designs  if you don't already have this app honey you need it! It's amazing! I used it to get all my text on the photo I love how all the fun valentine colors pop against the black and white. 

I ran over to my cute mother-in-law's house and she helped me get them printed out on card stock. 

I got all my materials I needed . My cellophane bags that I found at Walmart were way to long 
So I just set my Laffy Taffys on top of the bag and placed the picture on top to gauge how much I could cut the bag. I just left about and inch of overlap in the back of the photo. I put the treats inside the bag and I put a thin line of Elmer's glue on the back of the picture and stuck the bag on. But just know that it won't stay at all. I just did that to lightly hold it in place before I sewed it. 
I ran it under the sewing machine with a hot pink zig zag stitch. I really think it gives it a little something no?  I didn't do any back stitching. I tried it on one and I didn't like the way it looked. As long as you don't mess with them too much they should stay sewn. That's the finished product it's such a fun way to give a very personal valentine. This was such a quick and fun little project! Give it a try let me know if you have questions. 
I couldn't leave Kater bug out of the fun! If you didn't want to put in all the time to add candy. You can do what I did and just print out the photos and slap them in envelopes and send them out to your family. I did that too. 


SHARE THIS POST - {PINTEREST}

February 04, 2014

Easy no sew bows!

Hey lovelies, I've put together a fun and easy let me emphasize EASY tutorial for you. Anyone could do this project even those who claim not to be crafty. This is for you! 
So my  girls have a few outfits that I had no hair accessories for also I was sick to death of people calling Kate a boy. Am I the only mom who gets fired up? I'm like hello she's in a pink car seat with a pink blanket. Anyway moving on.  I decided I just needed to make my own bows these were even easier than I thought they would be!  Now I feel the need to make hundreds of these bad boys. 
What you'll need:
Scrap fabric 
Scissors 
Hot glue gun 
Small alligator hair clips 
Iron 
  It might all be stuff you have on hand but if you don't have the alligator clips you can pick up a box at Sally's . 
Grab any scrap fabric you might have. I ran to the local fabric store an snagged a few fat quarters they are perfect for this project. 
Cut your fabric 7 1/2 inches long by 5 Inches wide
It really doesn't need to be perfect. I like to do this hillbilly thing called "eye balling it" it works just fine haha.
Then fold it in thirds width wise so the raw edges meet in the center. 
I like to iron the creases so it looks nicer and stays folded. 
Then fold in thirds length wise so the edges meet in the center again. 
Iron those creases. 
I kinda accordion folded it until it looked how I wanted then pinched it from the front side of the bow and hot glued the back side. (Don't mind my nasty chipped nails) 

Then I cut another piece of fabric 3 inches long and 2 inches wide. 
Fold it in thirds width wise but this time it overlaps all the way to the edge.
Iron down the creases. 
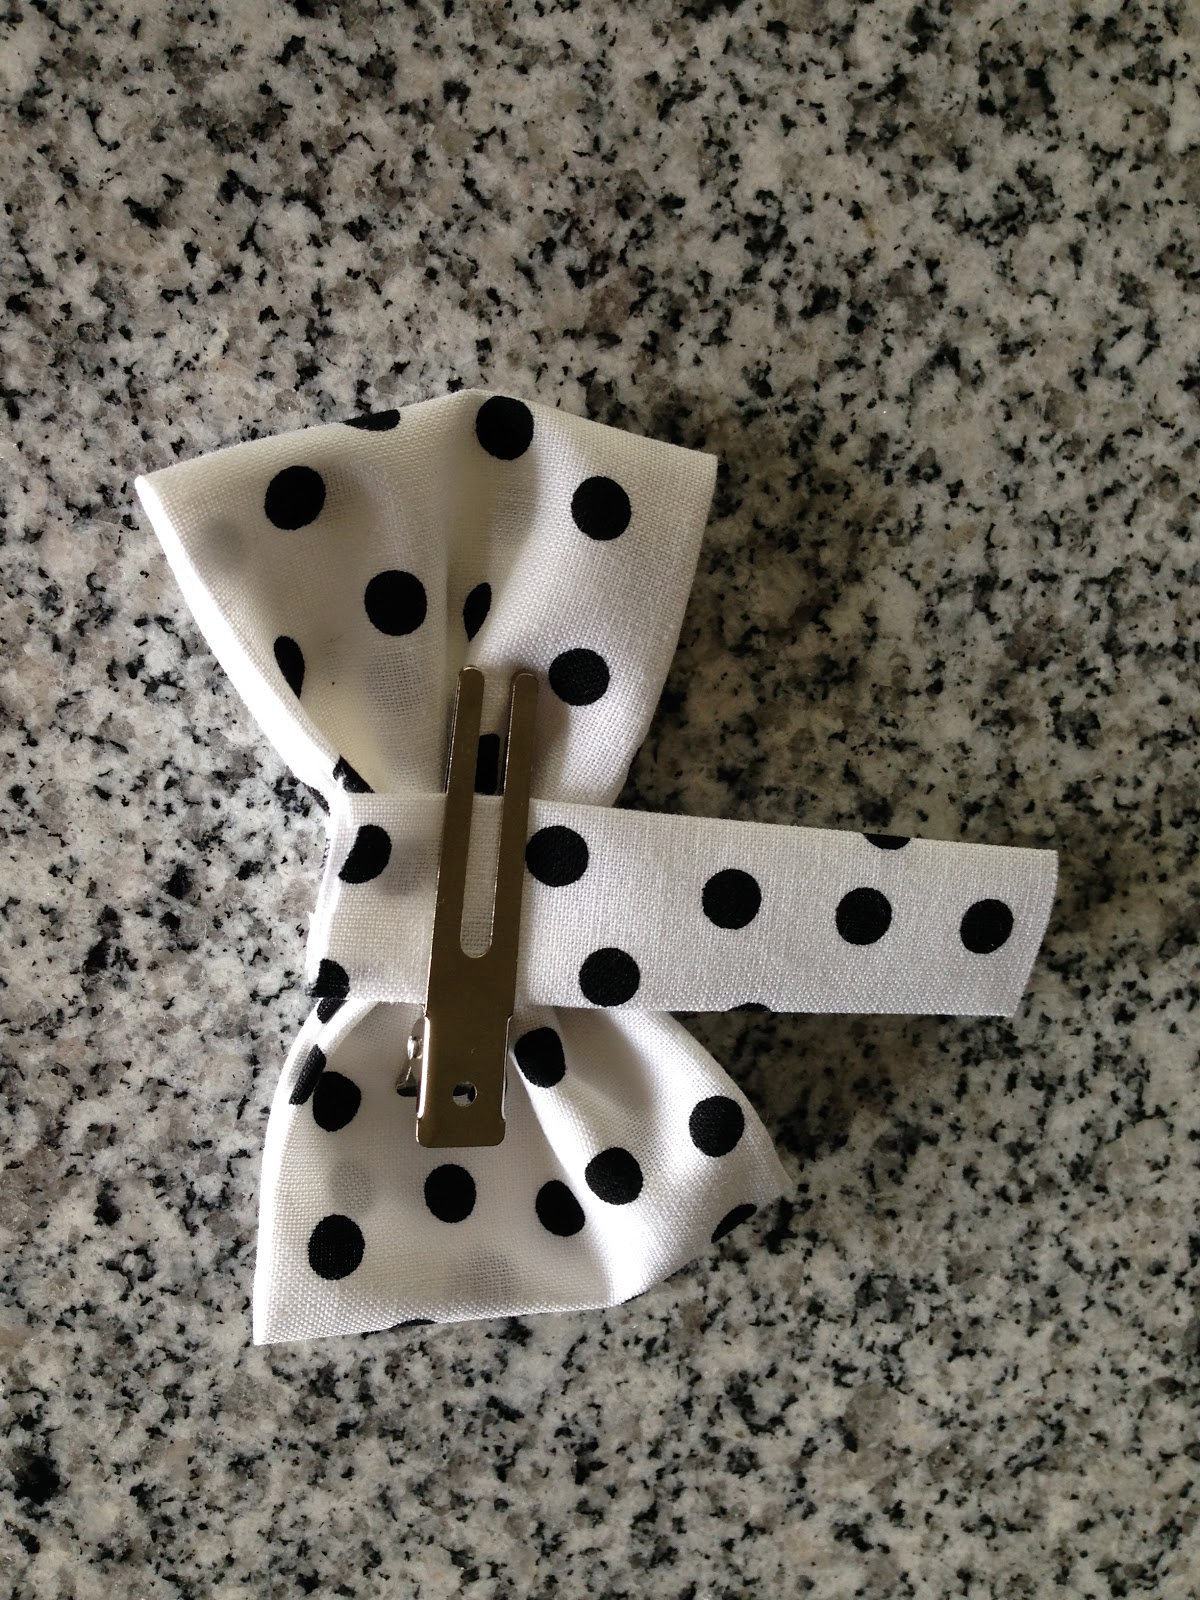
Now get your alligator clip and put it over your little rectangle. Put a dot of hot glue on the underside and stick in on the back of your bow. 
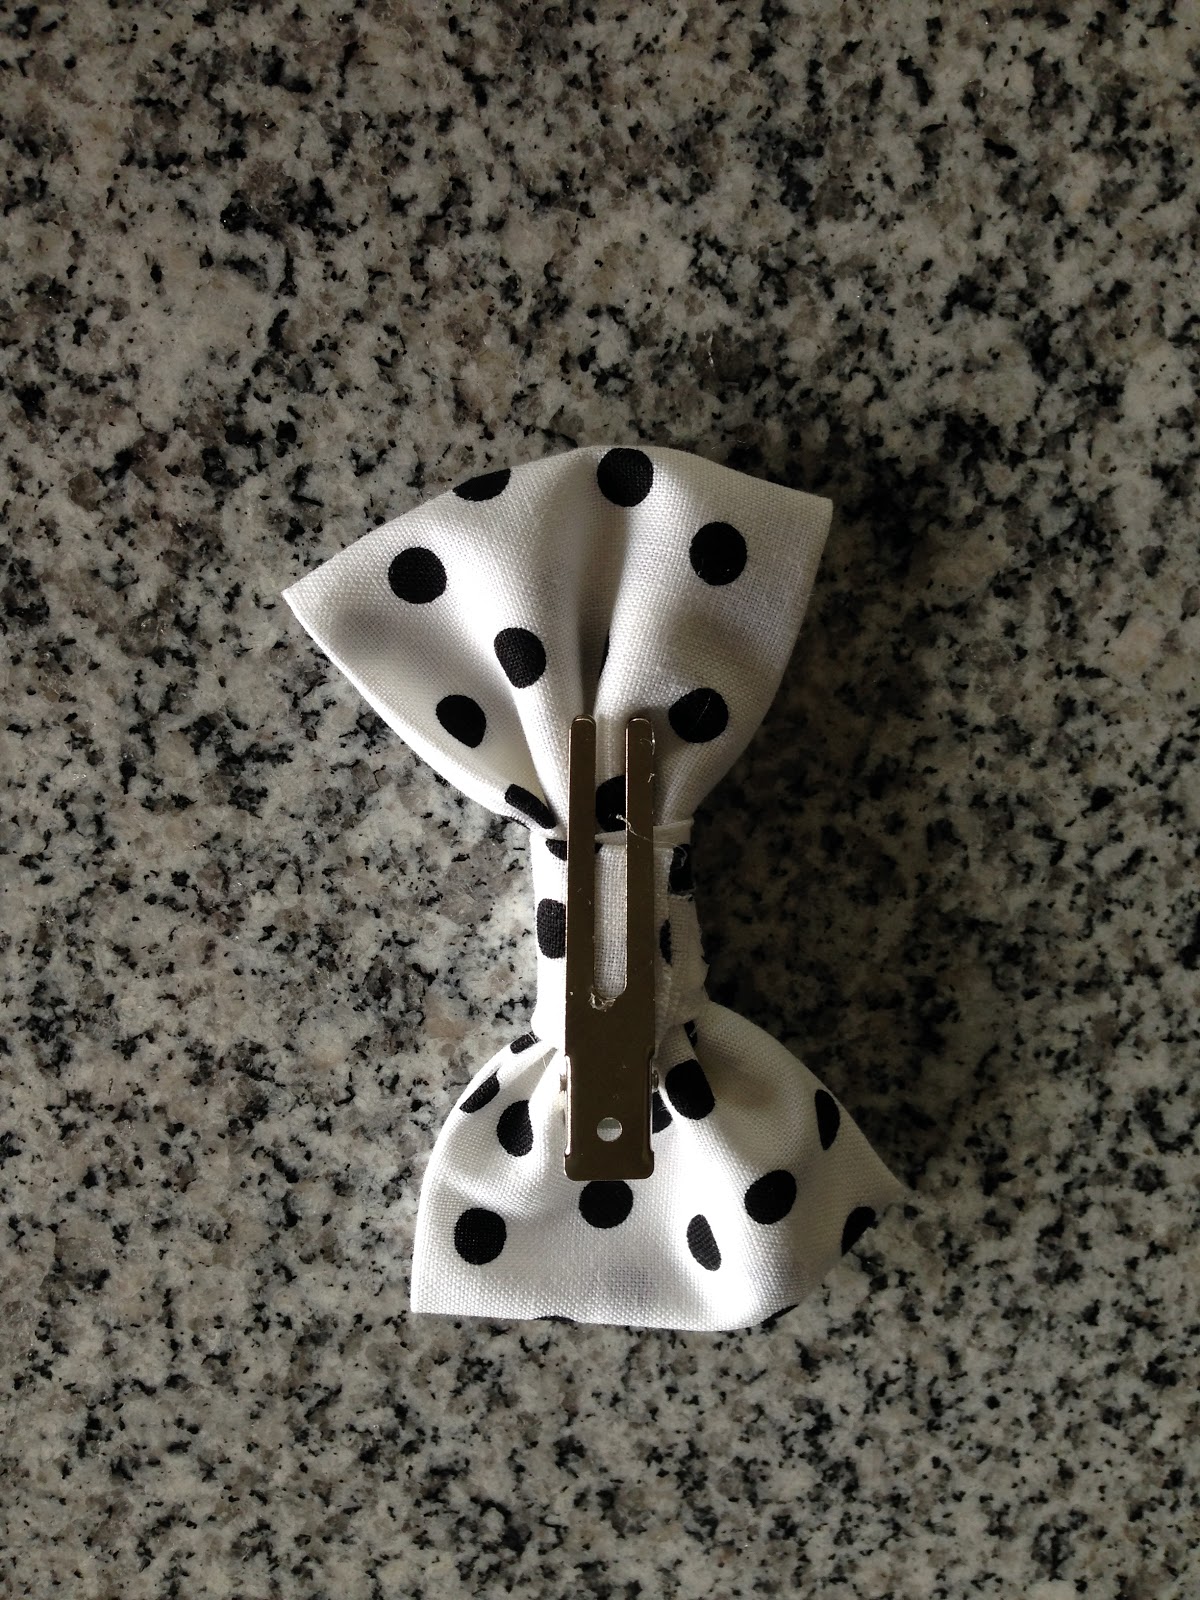
This is a little tricky. Now wrap the free edge of the rectangle all the way around the bow and with the clip open  put a dot of hot glue  over  the spot you attached the rectangle and secure the fabric down.  Now you have a perfect little bow you can clip to anything! 
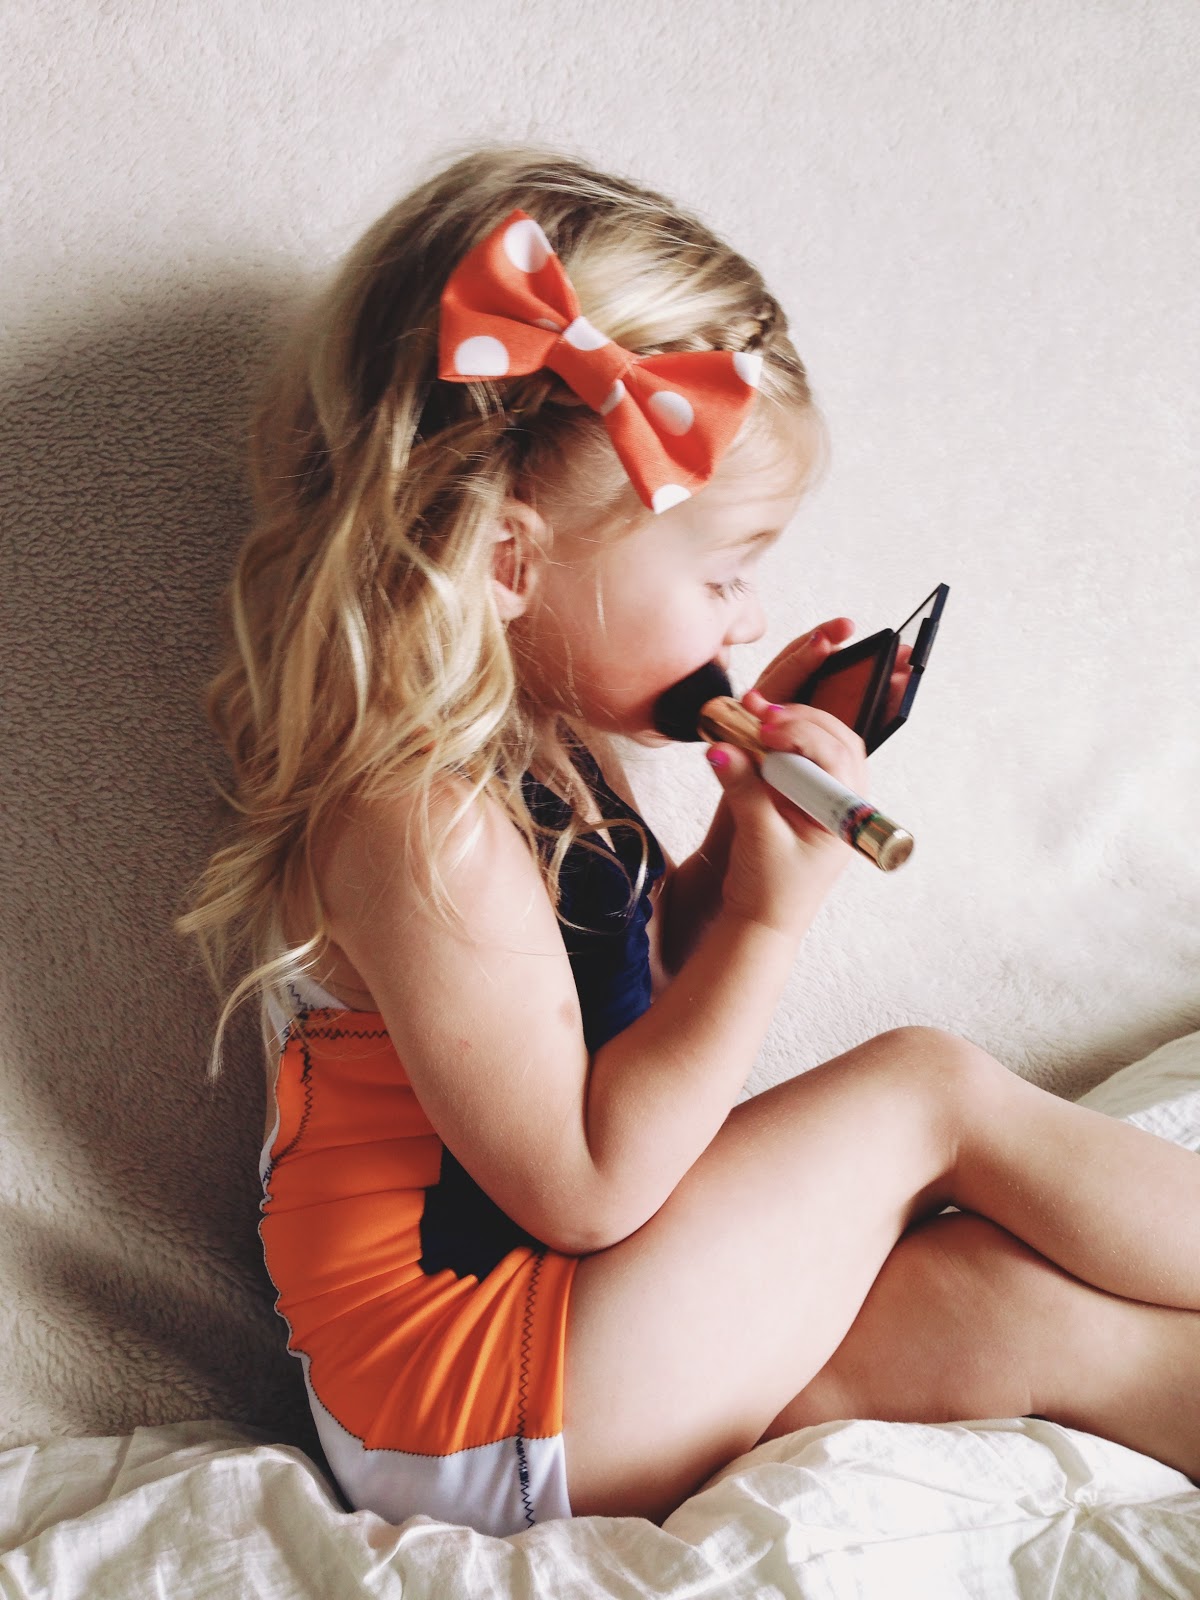
Here's the finished product. I made a cute orange one to match my Jossie's little dance outfit. 
This kid is girl through and through she wanted to put on some make up for her picture . How could I resist?  She is so sweet! 
She used my peach blush now she may or may not look like she rubbed Cheetos all over her face. 
Make some bows and let me know your feed back! I'd love to hear from you! 
Xoxox. 


SHARE THIS POST - {PINTEREST}

January 27, 2014

Joslyn's nautical 2nd birthday party

  Last June I threw my little Jossie a sweet and girly Nautical party. I have had a few requests to blog about it. Your wish is my command. I saw this gorgeous party on Kara's party ideas
I instantly fell in love. Then I came across this lovely customizable printable package from 
sweet peach paperie it was perfect and planning the party from there was a piece of cake! (Get it? like  birthday cake?) 
this perfectly nautical dress is from crew cuts 

Seriously how cute is this dress?! 


These custom straw flags were a great touch I found these paper straws in every color from target 


This vintage inspired driving helmet is from Hobby Lobby 


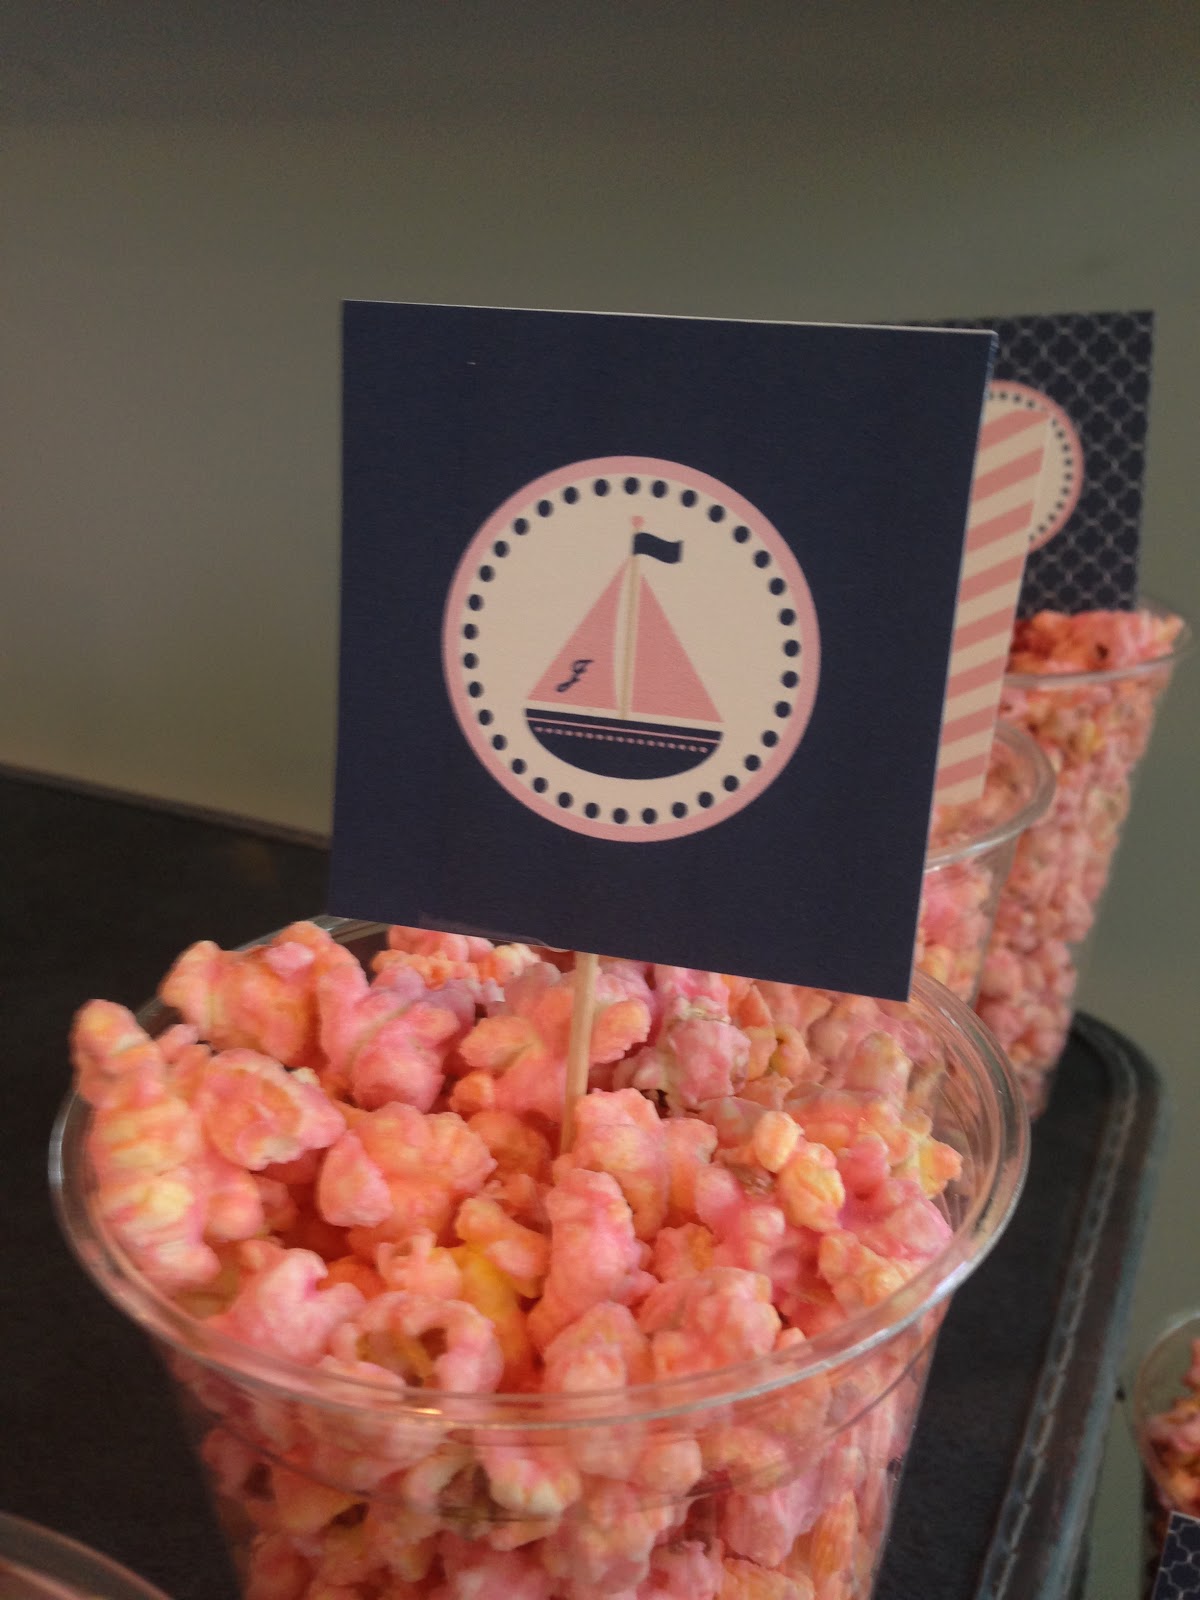
The popcorn cups were great for the guests to just grab and go and eat it where they please. The popcorn was made by my cute mom from Candies on main 


Everyone just loved these Joslyn sailing Co water bottles. 

This was when my Graves' disease was running ramped and my eyes were beyond massive!
YUCK! Thank goodness for modern medicine.


She had a great birthday and it was so much fun! I can't wait to start planning her party this year. 


the cake is from Dipidee bakery in American fork.

SHARE THIS POST - {PINTEREST}

January 25, 2014

D.I.Y floor pouf

My  mom and I got the idea from Pinterest (what would we do without it) to make the cutest little pottery barn kids inspired seat for my Jossie to drag around and lounge on. I followed  this tutorial here to the letter. I admit I am only on a beginner sewing level so anyone could do this project. 
Fun fact #1 we only used one yard of fabric 

Fun fact #2. I was really scared to used the piping but I was shocked at how easy it was. It gives any project that finished and professional look and it beats the crap out of making your own piping that's for sure!  

It turned out darling Joss is always carting it around everywhere that little handle is perfect 
For little hands.  Even Kate likes to get in on the action. 

SHARE THIS POST - {PINTEREST}
 
SITE DESIGN BY DESIGNER BLOGS