April 17, 2014

Our family ALBUM!!!


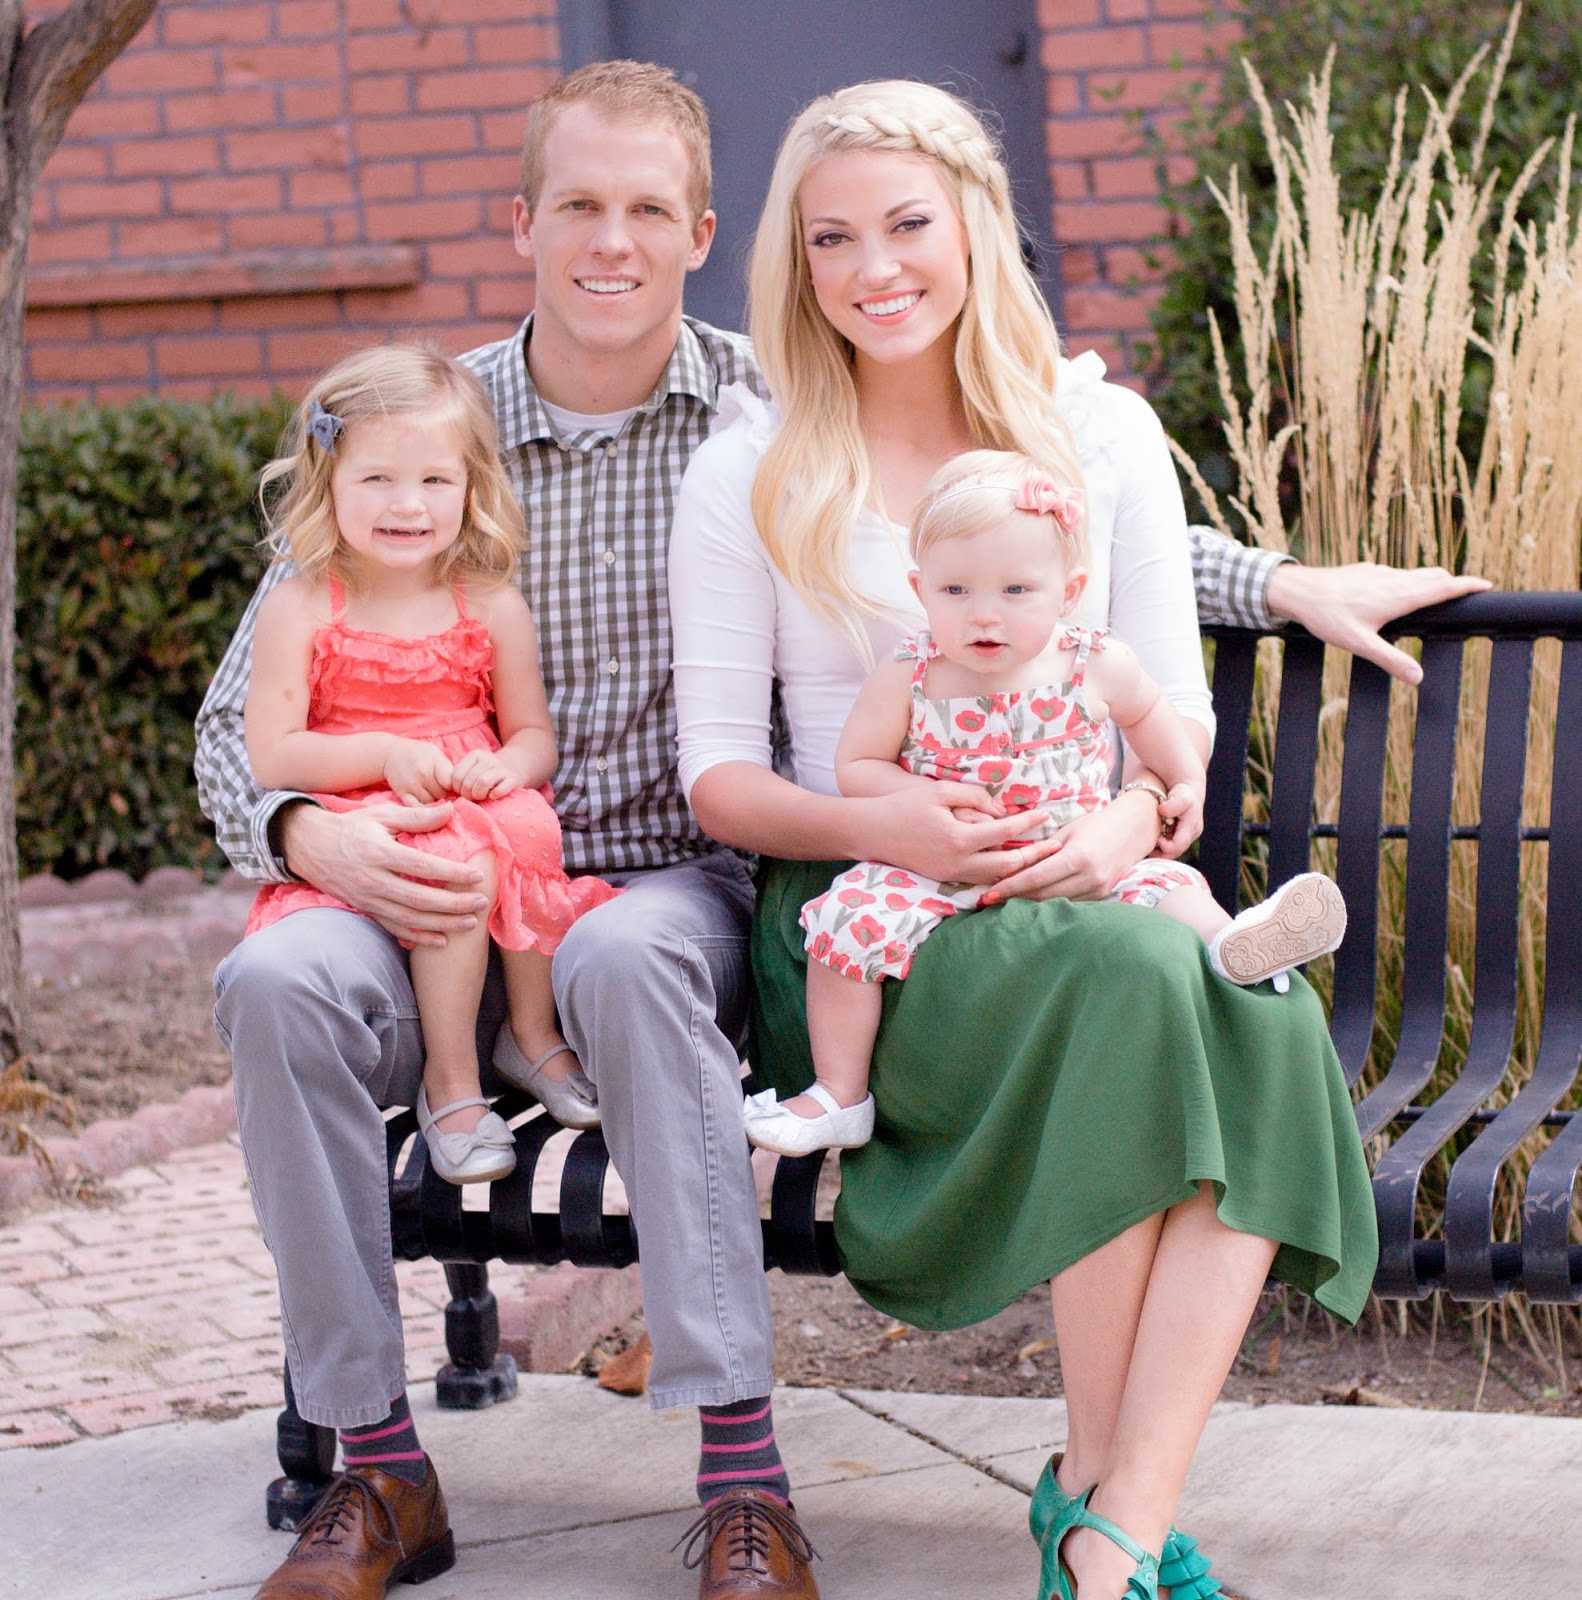
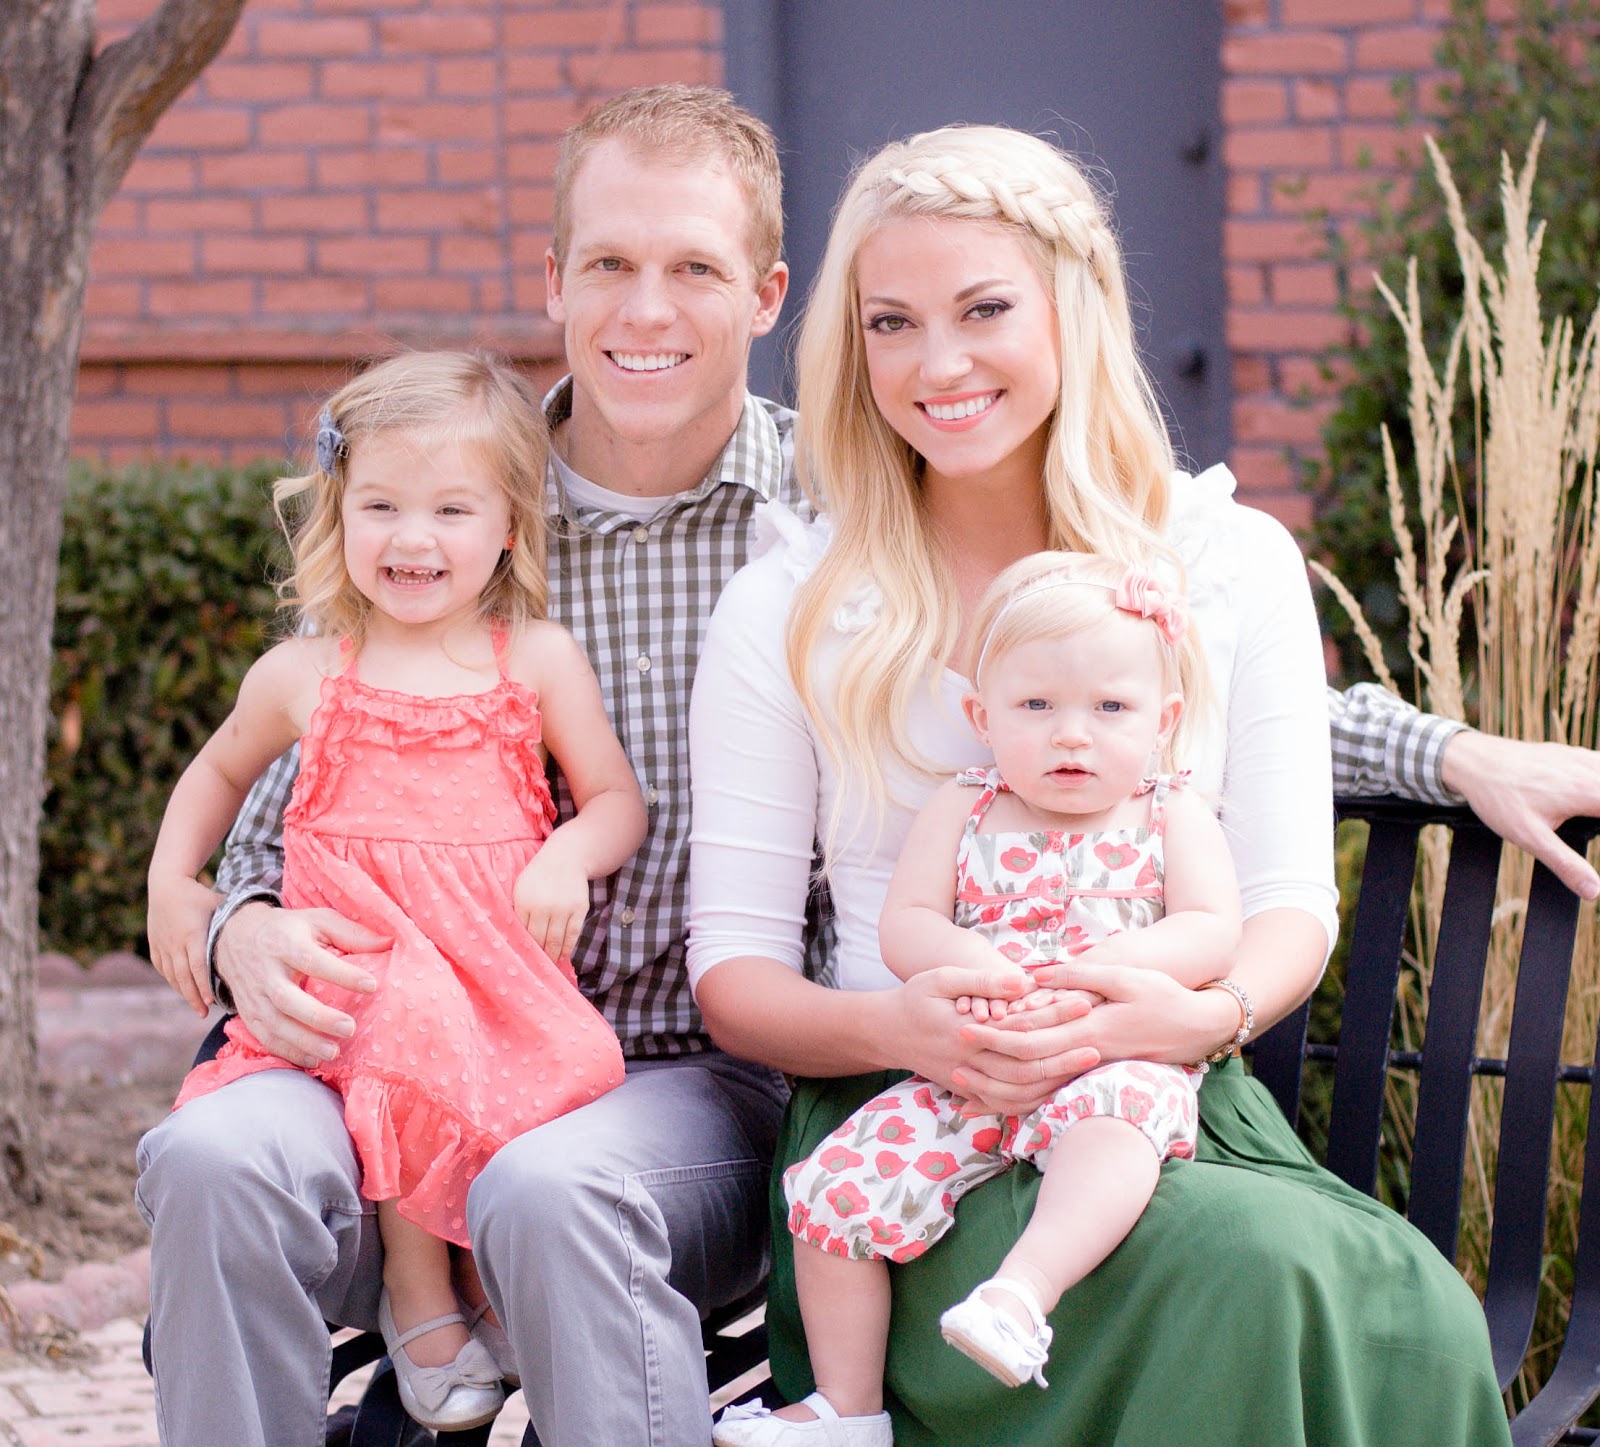
We finally got some family pictures done with Kater bug in them! I absolutely love these people! 
Todd is amazing with these girls. How much they adore him just shows in every picture. He is the answer to my every prayer! He's pretty studly that Todd guy is! 


SHARE THIS POST - {PINTEREST}

April 06, 2014

All my ladies in the place with Lemons & Lace!

See what I did with the title there?? I'm ridiculous I know. Haha face palm. Moving on...
Recently I got my hands on some headbands from my girl Joslyn owner of Lemons & Lace . She makes the most amazing handmade headbands, scarves and bow ties. She has great prices too!! I have only had them for a week or so but I'm in love! My little Kate will actually leave it on cause they are so comfy! Anytime I wear mine I get lots of compliments.. And let's be honest who doesn't like that??
   I met Joslyn in hair school way back in the days of Bon Losee! She was a sweet and happy girl from Arizona who always had a smile on her face. Then she met the man of her dreams and moved to Ohio! Thank goodness for social media so we could keep up with each other's lives and stay in touch! She is actually the name sake for my little Jossie. Thanks to her Kate is styling and me and Joss and I get to look like Pete and repeat. 


SHARE THIS POST - {PINTEREST}

April 05, 2014

Kate's first birthday party!

I can't believe my baby girl is one!!! It's gone by way too fast I feel like I didn't get to soak up all of her baby sweetness yet! But alas time doesn't give a crap but she is such a cute little stinker. 
I had so much fun planning her pink and gold party. I saw a Kate spade inspired party on the perfect palette . It's sweet and swanky and perfect for my little Kate! I scaled it down a bit.
I made this fun tissue paper garland that was the center piece for the whole party you can see a tutorial on how to make this beaut here 

 I found this darling little denim dress at target sans bow so I gussied it up by whipping up a bow with this tutorial then hand sewed it to the bodice of the dress.


See what I did there... Do you see it? Haha I added some left over tassels I made to tie it in to the rest of the party. 
Kate's cousins loved helping her open her gifts! 


She was pretty sad when I calmly instructed her to not touch the cake. Okay I might have snapped  very lovingly at her oops my bad! 
I had Charle Bell from knitlives photography take these stunning pictures of this sassy thing she was being such a grump but Charle managed to get some great stuff! 


This is my favorite


My little mini muffin has come so far! I don't know what our little family ever did without her. 


SHARE THIS POST - {PINTEREST}

April 04, 2014

Long tassel garland


I'm so on board with tissue paper tassel garland.. I mean who isn't?? It's so pretty! I've tried making these before using other tutorials and they just didn't turn out how I'd  hoped so I decided I wanted to show you how I did mine and tell some helpful hints. I finally cracked the code! This is what worked for me. I started by running to Walmart of all places and I found all my pretty pink tissue paper there. I actually thought they had a better variety than Hobby Lobby they are usually my go to place, they have lots of solid colors but I was looking for some fun prints.  I also wanted metallic gold Mylar in the mix and that was a little harder to track down. I made a pit stop at Zurchers and they had some YIPPEE!!! 
What you'll need: 
Assortment of colored tissue paper 
Rotary cutter 
Cutting mat 
Ruler 
Hot glue gun 
Twine  or chording 

Okay now get ready for the biggest secret.... YOU CAN IRON TISSUE PAPER!!!!  Well on a relatively low setting anyway and for the Mylar I just covered it with a this dish towel so it would melt it. When you buy the pre packaged paper it comes with all kinds of creases it's horrendous! 
So after you iron your sheet I'm gonna go all kindergarten on you and use the term "hamburger". So fold your paper hamburger wise  then fold it hamburger wise again and grab your rotary cutter and  use your ruler to help you cut straight lines and go vertically try and get it as thin as you can I'm talking spaghetti thin! leave about an inch and a half at the top 

Then once you've done all your slicing carefully unfold your paper and roll it down the center so your got paper fringe on both sides then twist it around its self to make a loop then use a spot of hot glue to stick the twisted parts together but its really important that you leave a space inside the loop so you can thread your chording or twine or whatever you choose to string it up with through the opening. 
This project is one of my favorites because it is so inexpensive and it's not hard just very time consuming! I've had people dying to know where I get the garland. I loved telling them I made it. So 
now that you've got this tutorial go  on now and make one for yourself you'll love it! Now skat! 😜


SHARE THIS POST - {PINTEREST}

March 26, 2014

Spring wreath

You guys ! I'm back after much needed hiatus. I've just been focus ongoing on being a mom and honestly I've been letting my auto immune disease/chronic illness  get the best of me and honestly it has been kicking my trash and stealing my lunch money everyday! Now after just getting less than desirable news from  the doctor I finally snapped out of it and I'm like c'mon Christine you're so much tougher than this! I'll go into more detail about all that junk later.
I figure there is no better way to pull myself out of this funk than by doing something I love and that is to create! My poor front door has been naked since Christmas! Something had to be done about that sad little door! So I put a stop to it!  We went to the home show in St. George a while ago and I fell in love with a wreath from Heritage gardens . 
Does this just not scream spring??  Just looks so fresh and so clean clean! But you know me......I'm  such a cheapskate I didn't even consider buying it cause I was pretty confident I could recreate it! I did purchase a monogram. It was so cool Joni who  is a designer for Heritage got to design a house in the home show and she used theses monograms to make it look like a type writer on the wall I wish I had a photo it was incredible! If you're a st. George native go check it out!  
I gathered my supplies I didn't get a decent picture of all of it before I started make it I'm so dumb! 
what you'll need: 
Grape vine wreath (mine was 18")
Greenery of choice 
Wire cutters 
Floral wire 
Floral tape 
Ribbon of choice
I really screwed the pooch with this one with taking pictures as I went. My little Kate is getting her too teeth and is such a little bear! This project is super easy. I used the wire cutters and cut up the greenery and laid it out on the wreath and got it all set up the way I liked it. Then I used the  floral wire and looped it through the grape vine wreath and kind of twisted around the greenery it as you would a bread tie then looped my gingham ribbon through my cute monogram tied it in a little bow. Then lastly I used a little floral wire and looped it through the grape vine yet again and twist it at the top then covered it with floral tape. Sorry if this is all nonsense due to the lack of pictures! 


It's not identical to the original but it turned out just they way I wanted and mine was made for less than $30!! In my book that's a huge success!
I'm really excited about all my upcoming projects for Kate's birthday party! Stay tuned!! 


SHARE THIS POST - {PINTEREST}
 
SITE DESIGN BY DESIGNER BLOGS